How to play Super CD+G disc in PlayCDG KJ Deluxe 64 LT
1.
Start the PlayCDG KJ Deluxe 64 LT program.
[Click to view large picture]
2.
Insert the
Super CD+G disc into the disc drive of your laptop or PC. Close any pop-up
windows such as AutoPlay shown below.

[Click to view large picture]
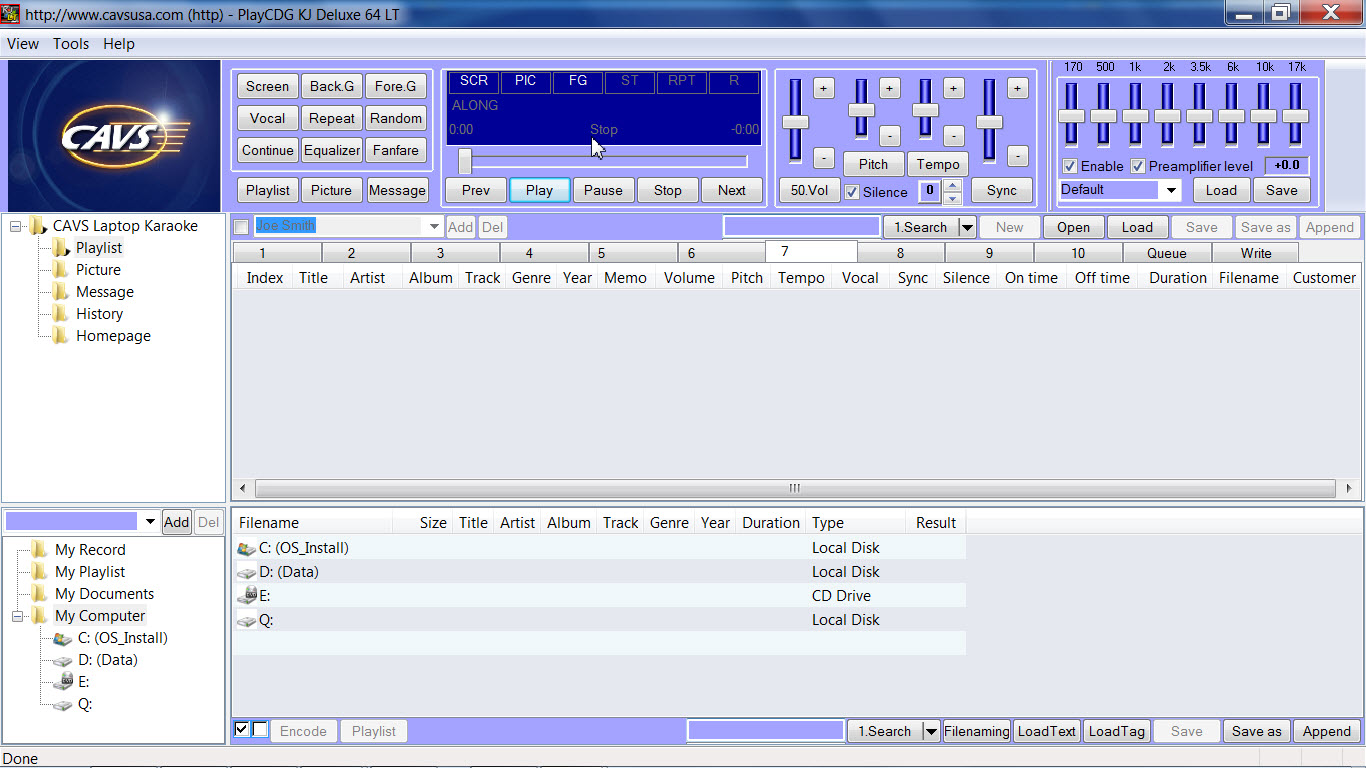
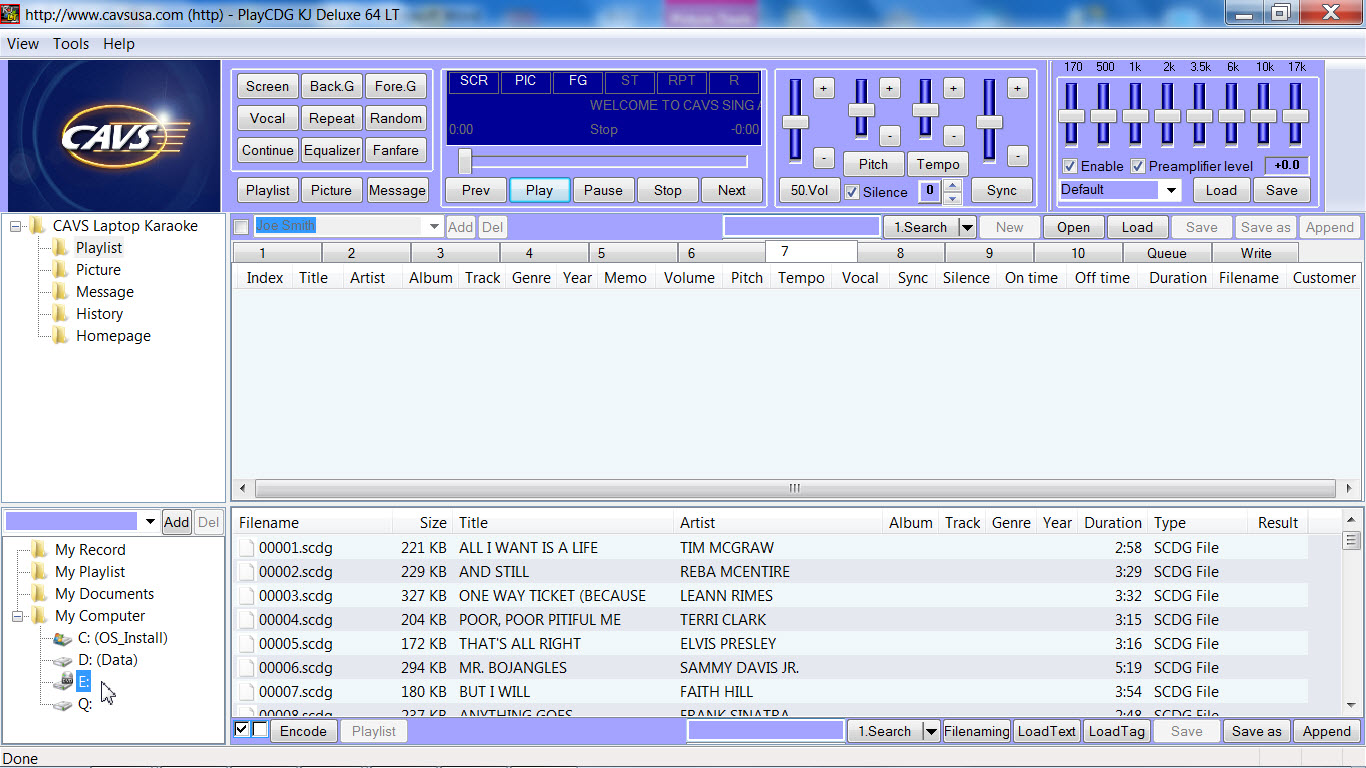
3.
Click on the disc drive
(in Folder Menu) and wait for the song information to appear on the right (in
File Browser).
[Click to view large picture]
4.
Now you have the options to play the songs directly from the disc or first
extract them into the hard drive and then play from the files. Here we will show you how to play the
songs directly from the disc.
Right click on the song (track) you wish to play and select
Playlist-Queue to load the song into the Queue window. You can also use drag
& drop to load the song into the Queue window.
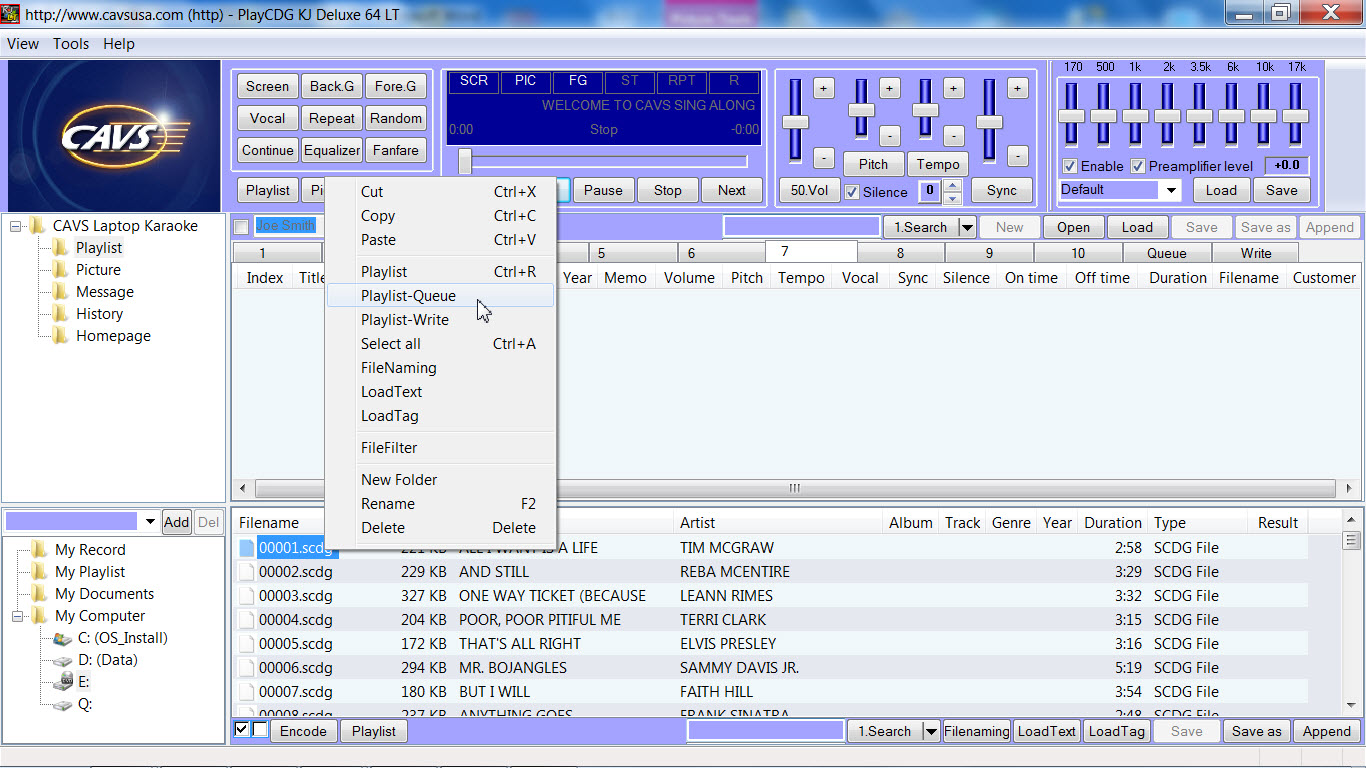
[Click to view large picture]
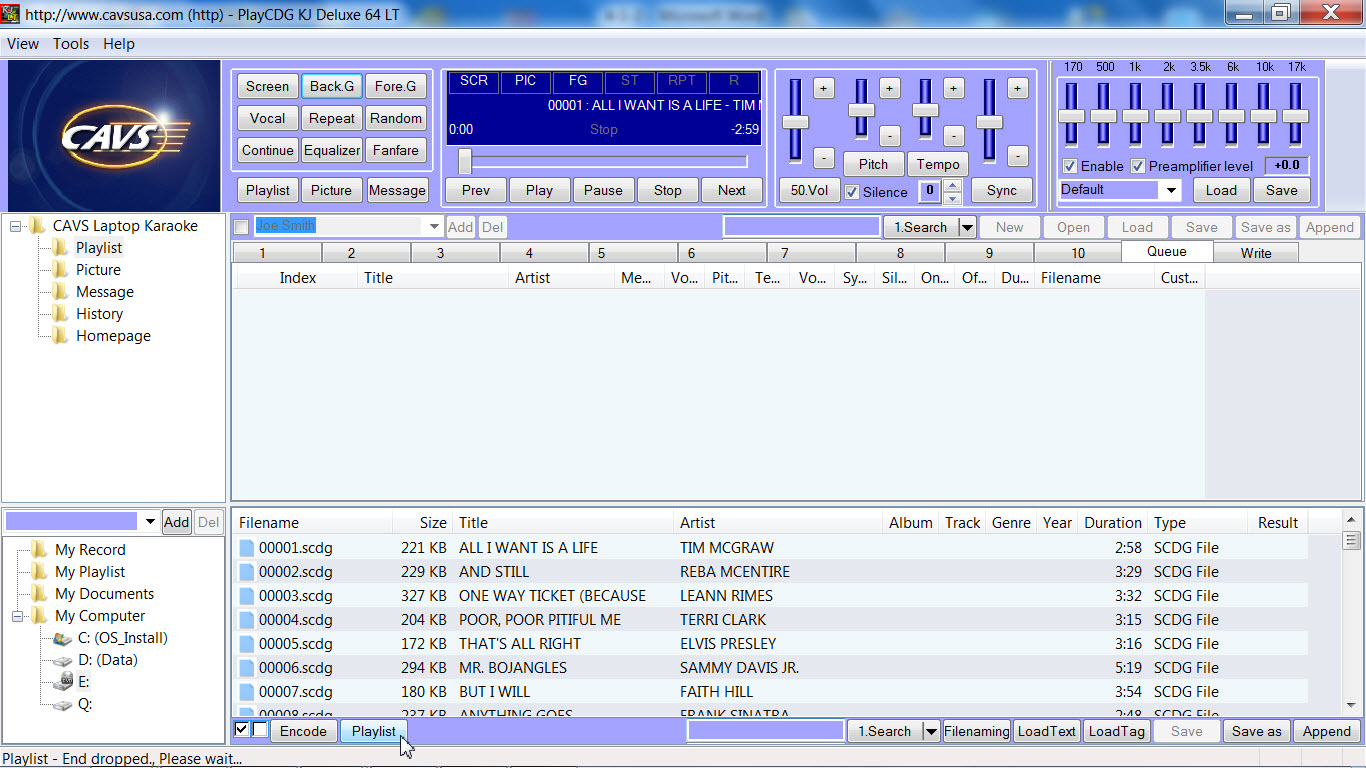
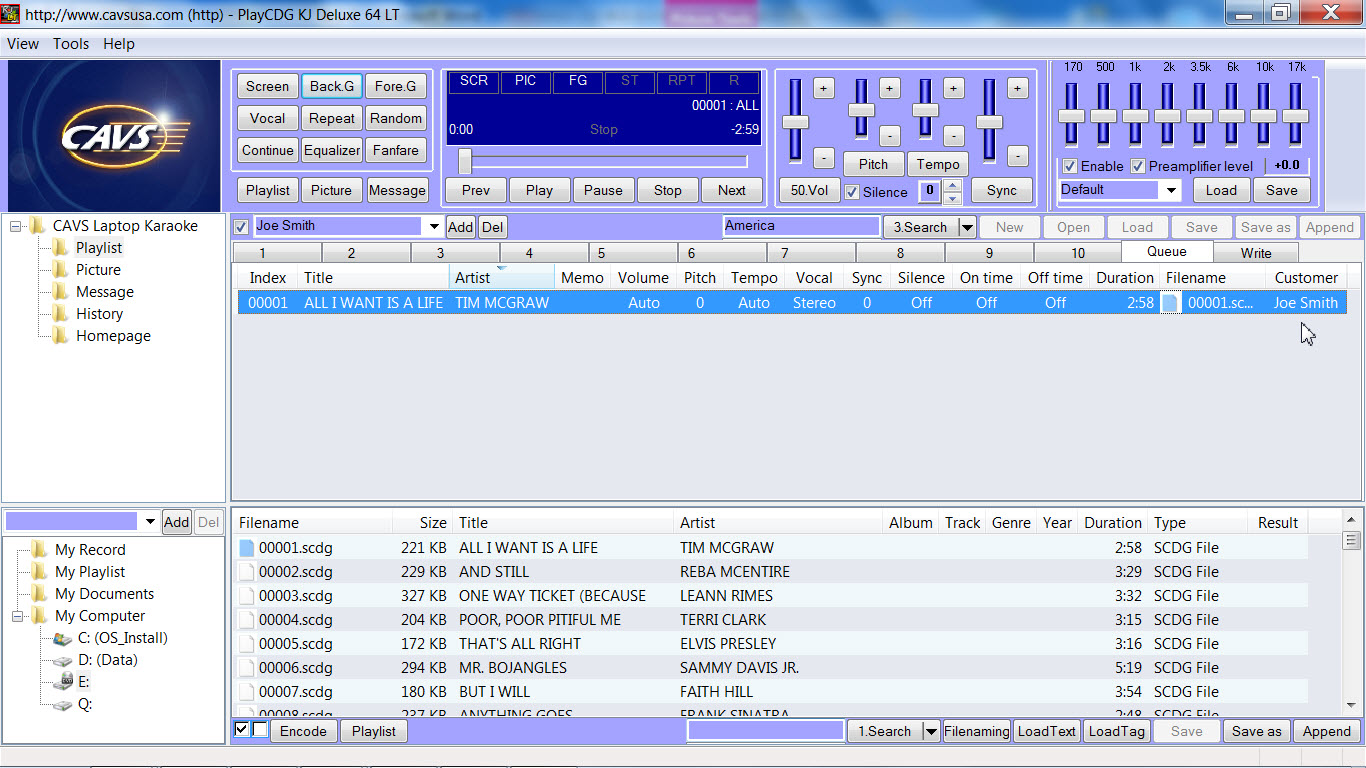
5.
In the Queue window, press Play (in the Control Panel) to start the song. You can also similarly load the song to
any of the 10 Playlists above. From
a Playlist, you can select the song and press Play (or double click on the
Index) to start playing also.

[Click to view large picture]
6.
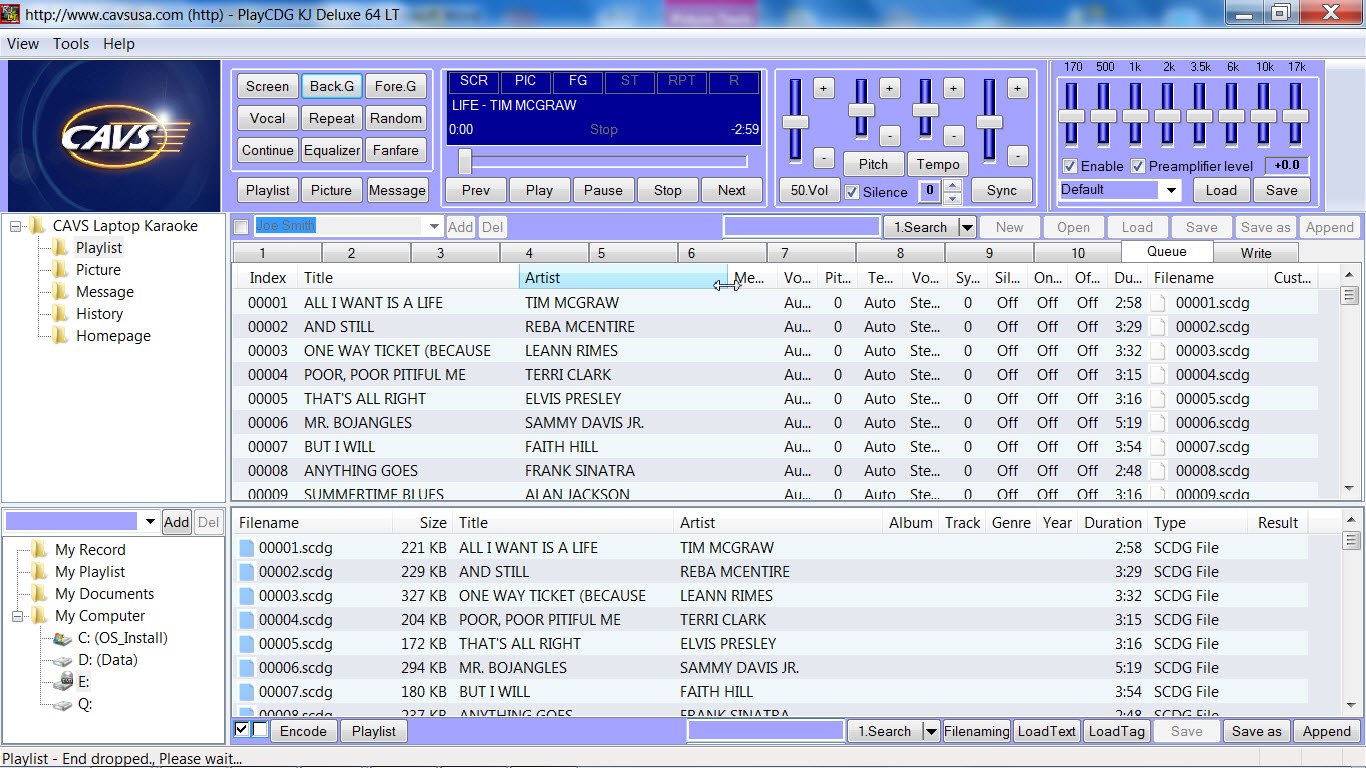
Songs in the disc can be loaded into the Queue or Playlists window all at
once. Select the window into which you wish to load all the songs. In the example below, we select the
Queue. Click on the check mark at
the bottom and press the Playlist button as shown. You can also drag & drop
the selected songs into the Queue window.
[Click to view large picture]
7.
In the Queue or Playlists window, you can adjust the size of each field by
putting your mouse (cursor) in between the fields and press & drag to the left
or right. You can also hide a field
by right clicking on the field name and unchecking the field from the list.
[Click to view large picture]
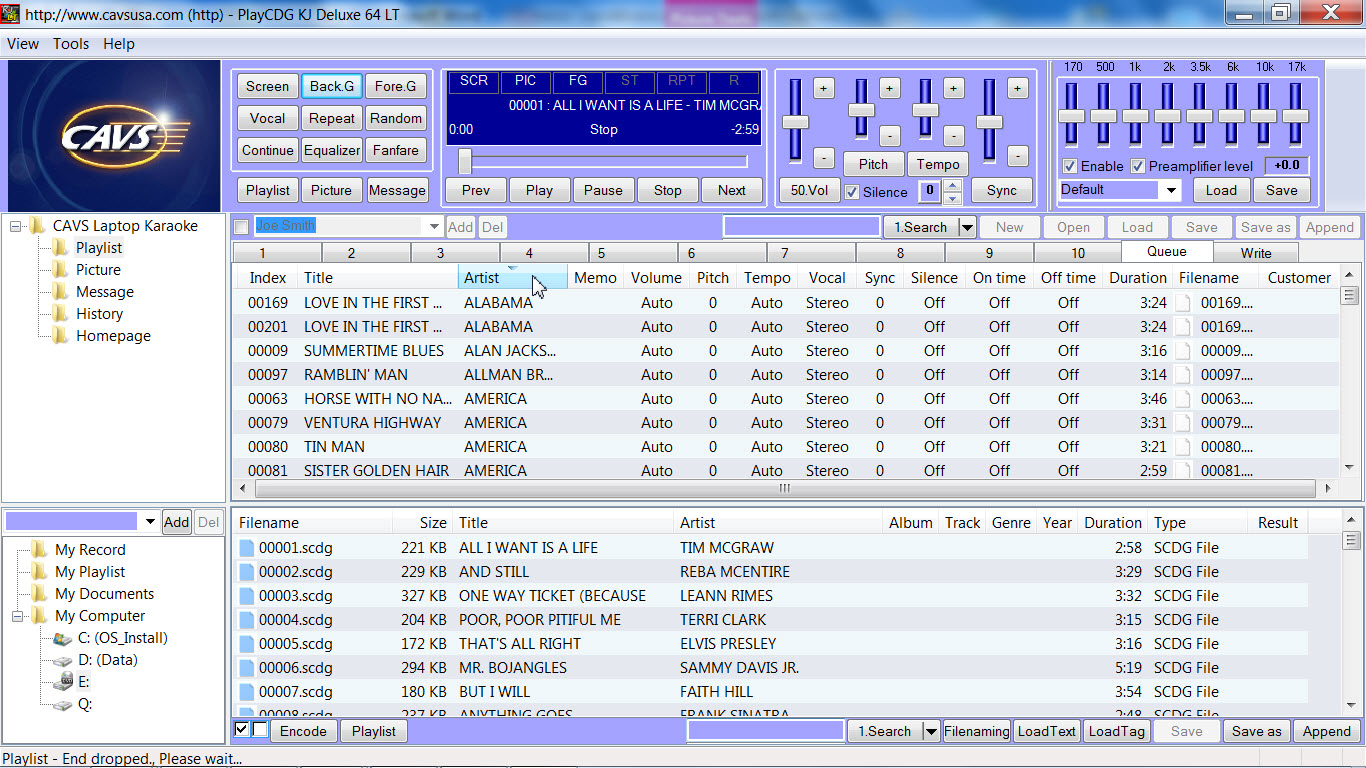
8.
In the Queue or Playlists window, you can also sort the songs according to
Index, Title, or Artist by pressing on the field name as shown below. Click on
the field name again to reverse the order.
This can also be done below in the File Browser to sort the songs
according to Filename, Title, or Artist.
[Click to view large picture]
9.
In the Queue or Playlists window, you can search for a song by Index,
Title, Artist, or Filename. Click
on the pull-down menu of Search and select the field in which you wish to
conduct the search. In the example, we select Artist.
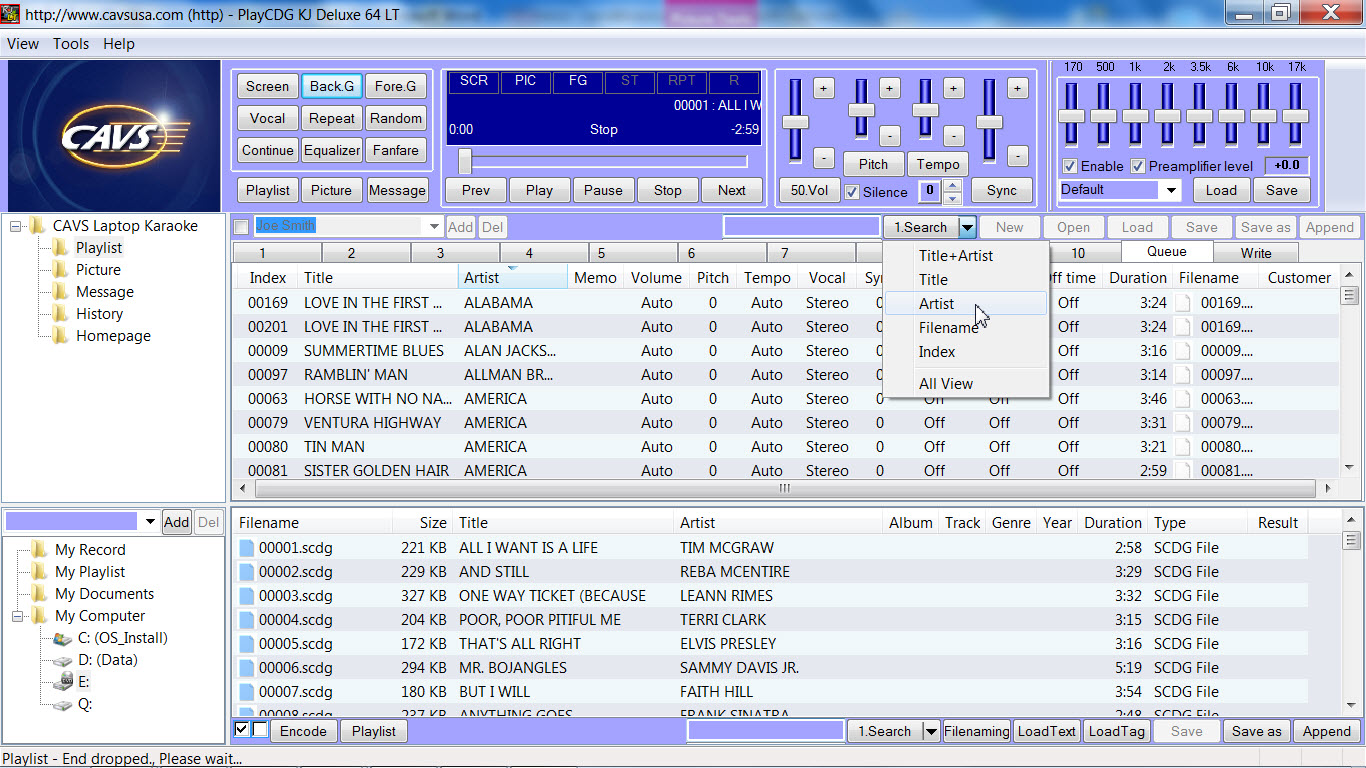
[Click to view large picture]
Next,
input the word or phrase that you are searching for and press Search. Only the songs that match your input
will show in the window below.

[Click to view large picture]
Note
the Search function is also available below in the File Browser window.
10.
To return to view all songs in the Queue or Playlists window, click on the
pull-down menu of Search and select All View.

[Click to view large picture]
11.
In the Queue or Playlists window, you can preset various control values
such as Volume, Pitch, Tempo, Sync, Silence, On-time, and Off-time of the
songs. Double click on each field and input the following values:
Volume Volume
control (0 : 100)
Pitch Pitch
control (-11 : +11, half tone steps)
Tempo Tempo
control (-10 : +10)
Vocal Voice
cancel (Stere(0)/Left(1)/Right(2))
Sync Synchronization
of lyric coloring to music (-75 : +75)
Silence Silence
gap remover (-5 : +5) seconds before/behind music
On-time Starting time (0
- )
Off-time Ending time (0
- )
*The values of On-time / Off-time of a song can be used to restrict the
play into a single verse, rather than all verses of the song.
Memo Comments
(for example, Concert version, Bad music, Easy to sing, etc.)

[Click to view large picture]
12.
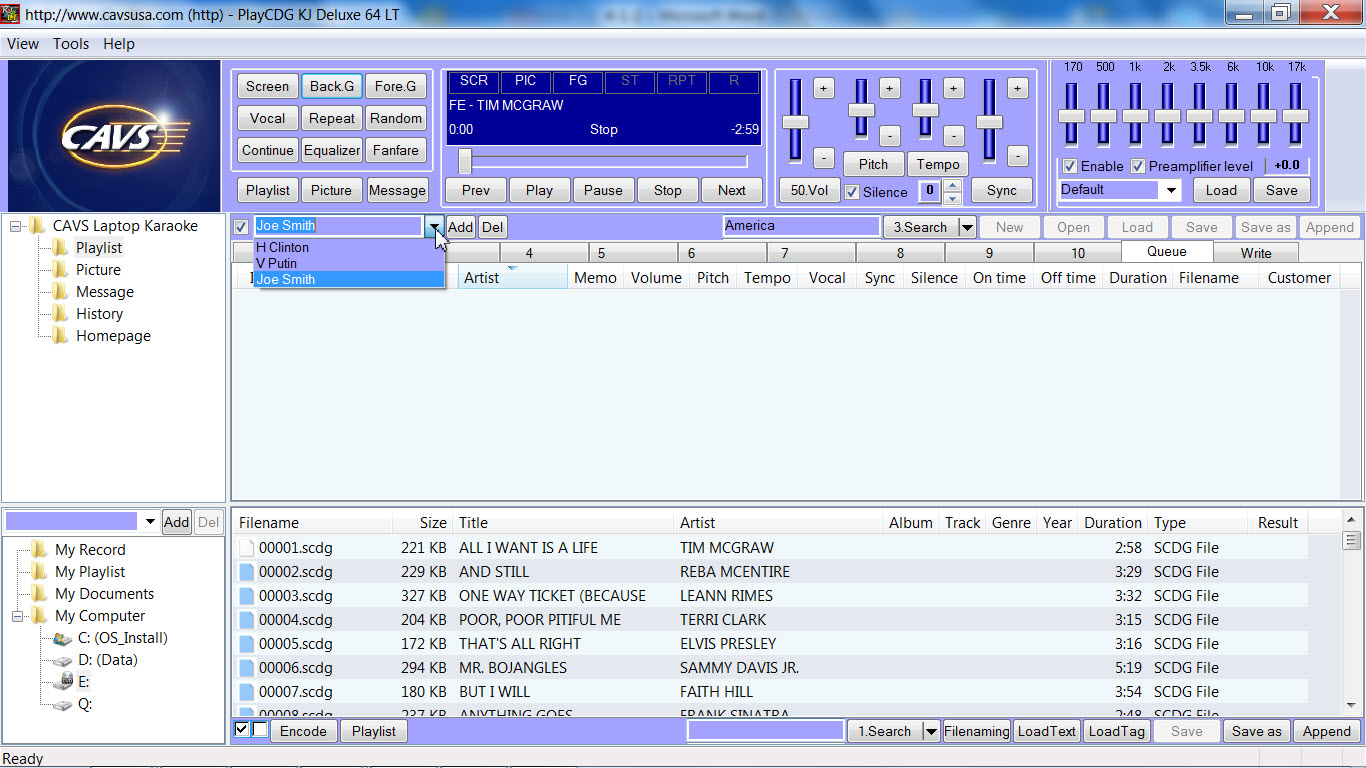
In the Queue, you can also input the name of the customer in the Customer
field for each song. To make this
process easier, the Add Customer function is designed to store and apply the
customer names automatically. Place
a check mark to activate the Add Customer as shown below and select a customer
name from the pull-down menu.
[Click to view large picture]
If your customer name is not in the selection, you can type
in the name and press the Add button to add. To delete, select the name and press the
Del button.
13.
Next add a song into the Queue from the File Browser (by drag & drop,
right click & select Playlist-Queue, or by pressing the Playlist button).
You will see that the song has been added with the customer name selected in
the Add Customer field. You can store many of your repeat customer names in the
Add Customer list and avoid typing each time of their singing.
[Click to view large picture]
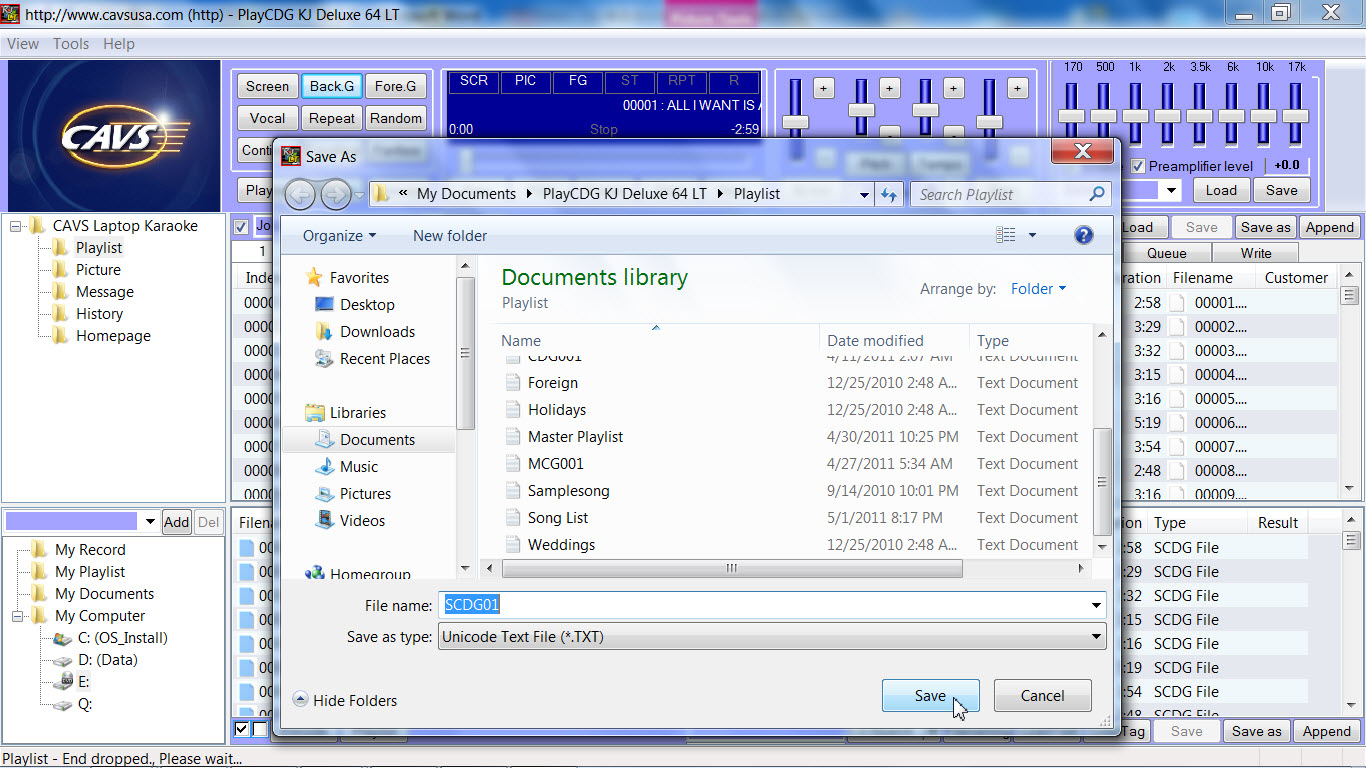
14.
To play the songs, you have learned to load the songs into the Queue
window. But to save the song list
(perhaps for some future use), you shoul load the songs into a Playlist (any
one of 1-10). In this example, we
use the Playlist 1.

[Click to view large picture]
Press the Save as button and it will open the Save as window as below. In
this example, we save the Playlist as “SCG01.txt” and press Save.
We recommend that the songs in a Super CDG disc be first saved in a
Playlist. Then from the Playlist,
you can use the Search, Sort, or Preset functions to play the songs or send to
Queue which will result in less access to the disc drive and less load to your
laptop or PC. For more details,
please refer to the USER’S MANUAL.
END